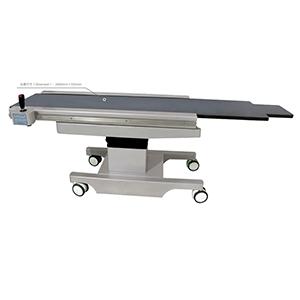
User manual of the advanced cranial stabilization system and surgical skull clamp
Overview:
Brain tumors, intracranial aneurysms, and vascular malformations are common brain disorders. The main treatment is surgical treatment. For craniocerebral surgery, there must be a fixed position to facilitate the operation to facilitate the exposure of the visual field. Insufficient head fixation during surgery will affect the surgeon's operation and treatment effect. Patient comfort and good posture during surgery is also an important condition for performing anesthesia and performing surgery. Therefore, the advantages and disadvantages of headrest fixtures for craniocerebral surgery greatly affect the progress of surgery. The company's surgical head frame is reasonable in design and can be used for craniocerebral surgery fixation in any head position and position. The fixation is firm, the surgical operation is convenient, the visual field is exposed, and the surgical operation and anesthesia management are greatly improved compared with the previous products.
Function and usage:
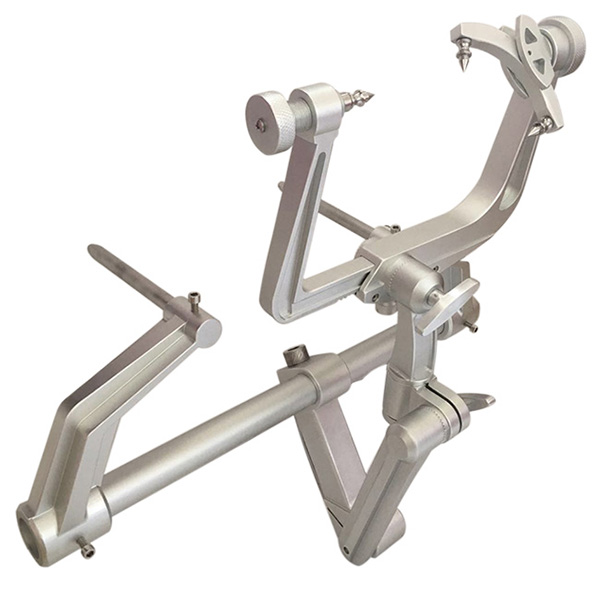
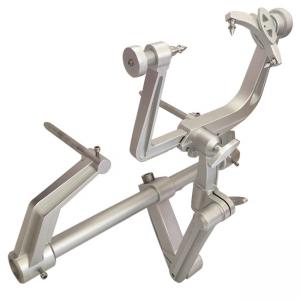
The skull clamp is a kind of specialized equipment, which matches with the brain/skull operation. This operation skull clamp can adjust at will according to the need for operations, which can be back and forth, swing from side to side, up and down movements. It also can achieve the best in the first place and position, which facilitate the operation and management of anesthesia for operation and play a reliable guarantee role. It is an dial tool for neurosurgery.
Technical data:
Back and forth movement: 400 mm
Left and right movement: 450 mm
Up and down amount: 850 mm
Swing angle: not less than 80 °
Installation center distance adjustment range: 165 ~ 600 mm
Structure and performance
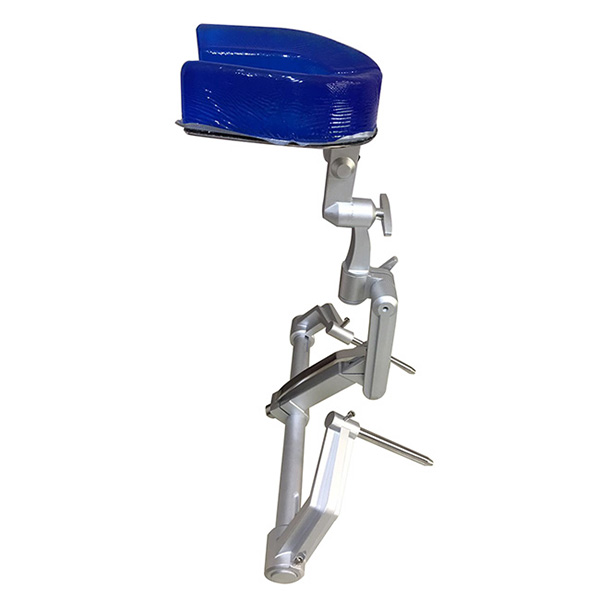
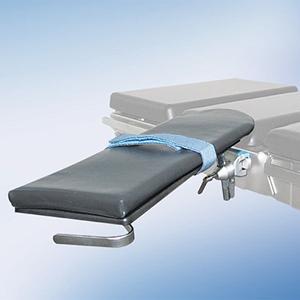
1.The whole set of equipment consists of three parts: base unit, Cranial Stabilization System skull clamp and head support. According to the needs of surgery, it can be assembled and used at will.
2. The whole set of skull clamp adopts a crank connecting rod structure, and the locking is secured by a lever handle, which is safe and reliable.
3. The design of the whole set of equipment is reasonable, the production is precise, the overall structure is compact, and the volume is small, which makes the range of surgical activities relatively large, which can reduce the physical strength of the physician.
4. The instrument is easy to install and adjust, which greatly shortens the preparation time before surgery.
Installation:
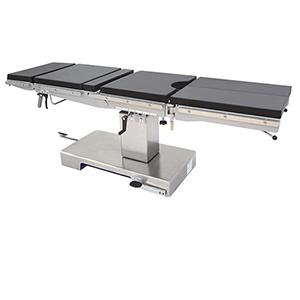
Step 1:Put the “operating table connecting pin” into the hole of the “end bracket”, and then tighten the screw. Turn ”adjustment wrench ” counter-clockwise one full turn so double “end bracket” sides smoothly on the connecting tube to the required position. Then insert “end bracket” into the operating table’s receptacles and turn the receptacle fastening screws until fully tightened.
Step 2: Pull up on the “locking lever” to unlock the base, and then turn “locking screw” clockwise until the angle between “locking lever” and “base handle” become 30°~45°. At last depress the “locking lever” to fully secure the base unit
Step 3: Insert ”torque screw” on adaptor into the hole of “support arm”, and then turn “torque screw” clockwise until tight.
Step 4: Insert “torque screw: into the hole on the skull clamp or headrest. And then turn “torque screw” clockwise until tight.
Step 5 (Fixation to patient):
Push skull pins, as deep as possible into pin receptacles on the skull clamp
Pull the “plunger” out to disengage the “skull clamp extension” from the skull clamp base unit, and slide the two handles apart to the appropriate width.
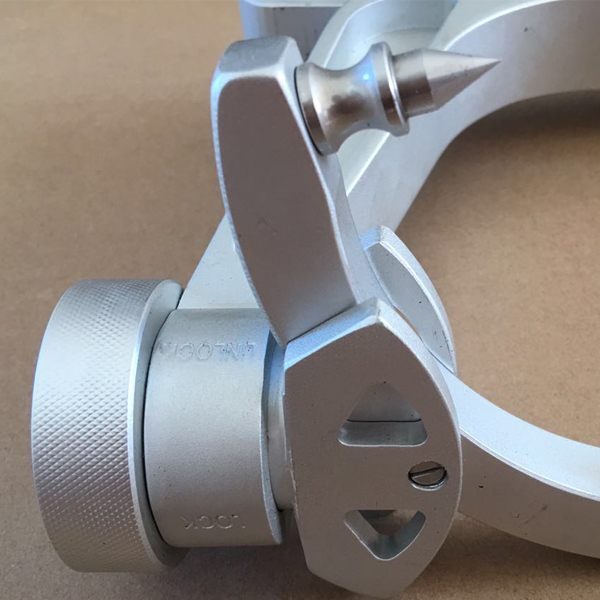
Unlock the “index knob” (the white trangle at the unlock position) so the skull pin arm can rotate freely 360 degrees. Rotate the skull pin arm in the desired position, and then lock the “index knob”
Note: Position the two skull pins in the rocker arm.
Seat the skull pins firmly in the cranial table by placing the rocker arm skull pin into the scalp so that they enter at a 90 degree angle. Perpendicular to the head. Then ratchet the single skull pin on the “extension assembly” into the scalp until the index shaft on the “screw” is “0”
Increase skull clamp pressure by turning the “screw” clockwise. Turn “screw” to the desired graduation as denoted on the index shaft.
Step 6 (installation of the gel head rest)
Similar as step 4
Precautions:
1. Before the operation, pay attention to whether the connection between the surgical head frame and the operating table is firm, whether the various parts of the surgical head frame are installed reliably, and whether the locking devices are locked;
2. Before the operation of the surgical head frame, the skull fixation frame and nails should be disinfected. The disinfection method can be high temperature and high pressure disinfection.
3.After the operation, the head frame must be thoroughly cleaned to prevent the dirt from drying out in the active joints and affecting the use of the instrument.
4.When using, moving, and installing the surgical head frame, it is necessary to prevent bumps to ensure its service life and performance.
